Make homemade ice cream with your KitchenAid stand mixer! It’s fun for both seasoned dessert lovers and newbies. This guide will show you how to make delicious, customizable ice cream at home. Your KitchenAid lets you try many flavors and textures, so you can make your favorite treat.

Key Takeaways
- Discover the ease and versatility of making homemade kitchenaid ice cream recipe
- Learn essential equipment and attachments needed for successful ice cream making
- Master a basic vanilla bean ice cream recipe and explore creative flavor variations
- Understand the fundamentals of ice cream base ingredients and their roles in texture and taste
- Avoid common mistakes and troubleshoot issues for the best homemade ice cream results
Why Your KitchenAid Stand Mixer is Perfect for Ice Cream Making
If you love baking or making desserts, a KitchenAid stand mixer is a must-have. It’s not just powerful and efficient. It also makes your homemade ice cream smooth and creamy.
Making ice cream with a KitchenAid is easy. Its strong motor and special mixing action add air to your custard base. This makes your ice cream light and fluffy. You can also control the speed to get the perfect texture every time.
The KitchenAid stand mixer is also very versatile. With the Ice Cream Maker attachment, it turns into a compact ice cream machine. This makes making ice cream simple and fun.
| Feature | Benefit |
|---|---|
| Powerful Motor | Effortlessly incorporates air for a light and fluffy texture |
| Planetary Mixing Action | Ensures thorough and even mixing for a consistent result |
| Range of Speed Settings | Allows you to precisely control the churning process |
| Ice Cream Maker Attachment | Transforms your stand mixer into a compact ice cream machine |
With a KitchenAid stand mixer, you can make amazing homemade ice cream. It’s powerful, efficient, and consistent. This makes it the best choice for making smooth and creamy ice cream at home.
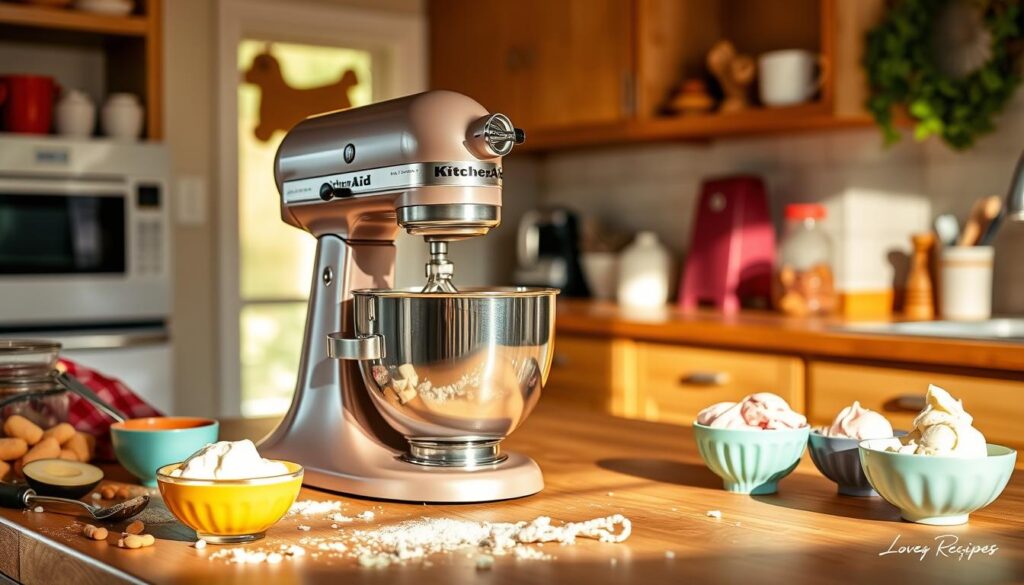
Essential Equipment and Attachments for Ice Cream Success
To make delicious homemade ice cream with your KitchenAid stand mixer, you need the right tools and attachments. Let’s explore the key equipment for a smooth ice cream-making process.
KitchenAid Ice Cream Maker Attachment Components
The KitchenAid ice cream maker attachment is crucial for ice cream lovers. It comes with several parts:
- Freezer Bowl: A special bowl for the ice cream mix, frozen to get the right texture.
- Dasher: The part that mixes the ice cream, adding air for creaminess.
- Drive Assembly: Connects the dasher to the mixer, giving it the power to churn.
Additional Tools You’ll Need
While the KitchenAid ice cream maker attachment is key, some extra ice cream tools can make your ice cream even better:
- Ice Cream Scoop: A strong scoop makes serving easy.
- Spatula or Spoon: For smoothing the ice cream and mixing it evenly.
- Thermometer: Important for checking the ice cream base’s temperature.
Storage Container Options
After churning, you’ll need a good container to keep your ice cream fresh. Here are some choices:
- Airtight Freezer-Safe Containers: Prevent ice crystals and keep the ice cream’s texture.
- Silicone Ice Cream Molds: For fun shapes, these molds make individual servings.
- Loaf Pan: A loaf pan works too, just cover it with parchment paper to avoid freezer burn.
With the right kitchenaid ice cream maker attachment and ice cream tools, you’re ready to make tasty homemade ice cream at home.
Basic Vanilla Bean Ice Cream Recipe
Indulge in the classic flavors of vanilla bean ice cream with this easy recipe. It shows how versatile your KitchenAid stand mixer is. Whether you’re a seasoned chef or new to cooking, this easy KitchenAid ice cream recipe will help you make a smooth and creamy treat.
To start, you’ll need a few simple ingredients:
- 2 cups of heavy cream
- 1 cup of whole milk
- 3/4 cup of granulated sugar
- 1 vanilla bean, split lengthwise
- 1 teaspoon of vanilla extract
- 1/4 teaspoon of salt
Here’s how to make this classic vanilla ice cream:
- In a medium saucepan, mix the heavy cream, milk, and sugar. Add the vanilla bean seeds and the bean itself.
- Heat it over medium, stirring now and then, until the sugar dissolves and it starts to steam. This should take about 5 minutes. Then, remove it from heat and let the vanilla bean steep for 30 minutes.
- After removing the vanilla bean, stir in the vanilla extract and salt.
- Pour the mixture into your KitchenAid ice cream maker attachment. Follow the maker’s instructions for churning, usually 20-25 minutes.
- Move the churned ice cream to a freezer-safe container. Freeze it for at least 2 hours before serving.
Enjoy your homemade vanilla bean ice cream. The rich, creamy flavor is thanks to your KitchenAid stand mixer. This recipe is a true delight for any ice cream lover!

Understanding Ice Cream Base Fundamentals
Making tasty homemade ice cream begins with the ice cream base. This base is key to the ice cream’s texture, flavor, and quality. Let’s explore what makes a great ice cream base:
The Role of Fat Content
Fat is vital for the creaminess and feel of your ice cream. More fat means richer and more indulgent ice cream. Aim for an ice cream base with at least 10% fat for that velvety texture.
Sugar and Texture Balance
Finding the right balance between sugar and other ingredients is crucial. Sugar sweetens the ice cream and helps prevent ice crystals, making it smooth. Try different sweeteners like granulated sugar, honey, or maple syrup to find your favorite.
Importance of Air Incorporation
Air incorporation is key in making ice cream tips. As the base churns, it adds air pockets for a light and fluffy texture. Pay close attention to the churning instructions in your ice cream base recipe.
Understanding these ice cream base fundamentals will help you make delicious homemade treats with your KitchenAid stand mixer.
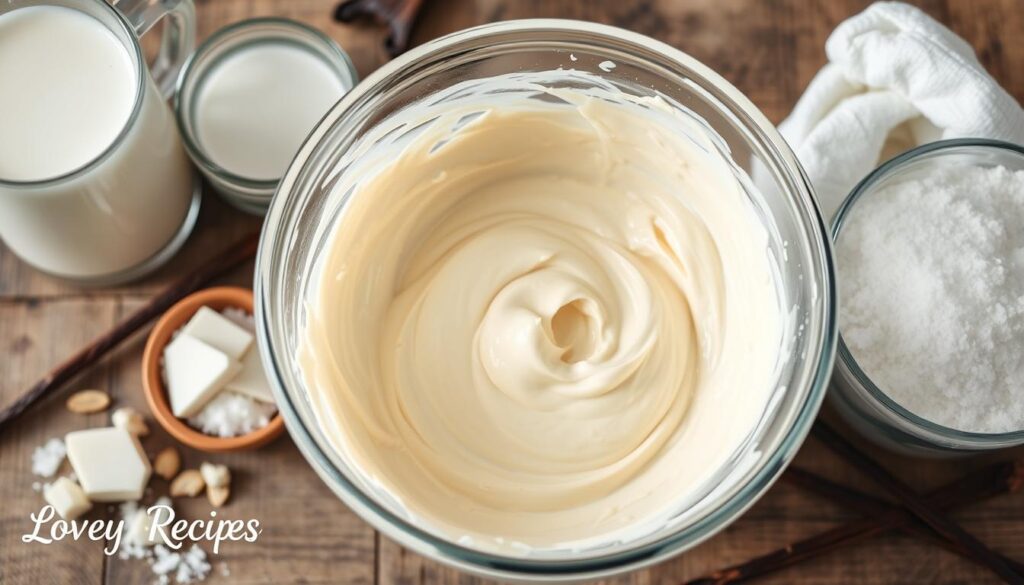
Step-by-Step KitchenAid Ice Cream Recipe Guide
Ready to become an ice cream expert with your KitchenAid stand mixer? This guide will help you master the kitchenaid ice cream recipe. You’ll learn how to make delicious homemade ice cream in your kitchen.
- Prepare the Ice Cream Base: Mix cream, milk, sugar, and vanilla extract in a saucepan. Heat it over medium, stirring often, until the sugar dissolves and it’s warm.
- Chill the Base: Put the ice cream base in a clean bowl and chill it in the fridge for at least 2 hours. It should be cold.
- Attach the KitchenAid Ice Cream Maker: Attach the ice cream maker to your KitchenAid stand mixer. Make sure it’s locked in place.
- Churn the Ice Cream: Turn on the mixer at the lowest speed. Slowly pour the chilled base into the frozen bowl. Churn for 20-30 minutes until it’s thick and creamy.
- Freeze for Finishing Touches: Move the churned ice cream to a container and freeze for 2-4 hours. This will make it firmer.
By following these steps, you’ll enjoy homemade kitchenaid ice cream that’s as good as store-bought. Try different flavors and mix-ins to make it your own. Impress your family and friends with your creations.
Common Mistakes to Avoid When Making Ice Cream
Making perfect homemade ice cream is an art that needs focus. If you’re new or want to get better, knowing common mistakes is key. Avoiding these will help you make great ice cream with your KitchenAid stand mixer.
Temperature Control Issues
Keeping the right temperature is vital. If it’s too warm, your ice cream will be soft and gooey. If it’s too cold, it will be icy. Chill your base well before churning and watch the temperature closely.
Ingredient Ratio Problems
The right mix of fat, sugar, and other ingredients is crucial. The wrong mix can make your ice cream too dense or icy. Always follow trusted recipes for the right amounts to get the perfect ice cream.
Machine Operation Errors
Using your KitchenAid ice cream troubleshooting attachment right is key. Know the churning time and when to add mix-ins. Also, don’t overfill your ice cream maker to avoid problems.
By avoiding these common homemade ice cream tips, you’ll make delicious ice cream every time. With practice and attention, you’ll soon be an ice cream expert!
Chocolate Lovers’ Ice Cream Variations
For the ultimate chocolate indulgence, explore these delectable chocolate ice cream recipes perfect for your KitchenAid stand mixer. From rich, creamy dark chocolate to decadent milk chocolate and delightful chocolate chip variations, there’s something to satisfy every chocolate lover’s craving.
Dark Chocolate Ice Cream
Indulge in the deep, intense flavor of dark chocolate ice cream. This recipe combines high-quality dark chocolate, heavy cream, and a touch of vanilla for a luxurious frozen treat. The key is to melt the chocolate slowly and incorporate it seamlessly into the custard base for a silky-smooth texture.
Milk Chocolate Ice Cream
Crave something a little sweeter? Try our milk chocolate ice cream recipe. By using premium milk chocolate, you’ll achieve a creamy, dreamy scoop that’s perfect for those with a milder chocolate palate. Don’t forget to add a sprinkle of chopped chocolate pieces for an extra touch of indulgence.
Chocolate Chip Ice Cream
For the ultimate chocolate chip cookie dough experience, this chocolate chip ice cream recipe is a must-try. Swirling rich chocolate chips into a classic vanilla base creates a delightful contrast of textures and flavors. Serve it up in a waffle cone for a truly decadent dessert.
| Chocolate Ice Cream Flavor | Cocoa Solids | Sweetness Level | Texture |
|---|---|---|---|
| Dark Chocolate | 70-85% | Medium to High | Smooth, Creamy |
| Milk Chocolate | 30-40% | High | Creamy, Indulgent |
| Chocolate Chip | Varies | Medium to High | Smooth with Chunks |
Elevate your KitchenAid ice cream-making experience with these delectable chocolate-inspired recipes. Whether you prefer dark, milk, or chocolate chip, your taste buds are in for a truly chocolatey treat.
Fresh Fruit Ice Cream Recipes
If you love vibrant, fruit-forward ice cream flavors, you’re in for a treat. Your KitchenAid stand mixer can help you make delicious fruit ice cream recipes. These recipes are full of natural sweetness and have a great texture. Let’s look at some tasty options to make your homemade ice cream even better.
Berry-Based Options
Berries are perfect for adding flavor to ice cream. You can choose from raspberries, strawberries, or blackberries. These fruits will make your ice cream taste amazing. Try pureeing the berries or swirling them into your vanilla base for a beautiful look.
- Creamy Strawberry Ice Cream
- Blackberry Swirl Ice Cream
- Refreshing Raspberry Sorbet
Tropical Fruit Combinations
For a taste of the tropics, mix exotic fruits into your KitchenAid ice cream flavors. Mango, pineapple, and coconut add a vibrant, refreshing touch. Blend these fruits into your base or layer them for a luxurious treat.
- Creamy Mango Lime Ice Cream
- Pineapple Coconut Swirl Ice Cream
- Tropical Fruit Medley Sorbet
When adding fresh fruit to your KitchenAid ice cream recipe, find the right balance. Adjust the sugar and add lemon or lime juice to bring out the fruit’s flavor. With a bit of trial and error, you’ll soon be making irresistible fruit-based ice creams.
Unique Mix-In Ideas and Timing
Creating the perfect ice cream mix-ins can make your KitchenAid ice cream recipe stand out. Let your creativity shine and explore many tasty options to make your ice cream special.
Timing is crucial when adding mix-ins. For solid items like cookies, nuts, or chocolate chips, add them in the last 5-10 minutes. This ensures they’re spread out evenly and don’t settle at the bottom.
For liquid or soft mix-ins, such as syrups, jams, or fruit purees, you can swirl them in just before freezing. Or, layer them between scoops for a beautiful marbled look.
- Crushed Oreos or graham crackers for a classic cookies and cream experience
- Toasted coconut flakes for a tropical twist
- Chopped candy bars or peanut butter cups for an indulgent treat
- Crumbled brownies or fudge swirls for a decadent chocolate lover’s delight
- Diced fresh fruit, such as strawberries, mango, or pineapple, for a refreshing twist
- Roasted and salted nuts, like pecans or almonds, for a satisfying crunch
The world of ice cream mix-ins is vast and exciting. Try different flavors and textures to make your own KitchenAid ice cream recipe creations. They’ll surely impress your taste buds.
Dairy-Free and Vegan Alternatives
Living dairy-free or vegan doesn’t mean giving up homemade ice cream. Your KitchenAid stand mixer can make creamy vegan ice cream and dairy-free kitchenaid ice cream recipes. These treats are perfect for satisfying your sweet tooth while staying true to your values.
Plant-Based Milk Options
Choosing the right plant-based milk is crucial for great dairy-free ice cream. Try almond milk, coconut milk, or oat milk. They whip up creamy in your KitchenAid. You can use them cup-for-cup in place of regular milk in recipes.
Natural Thickening Agents
To get the right texture in your vegan ice cream, use natural thickeners. Cashews, avocado, or chia seeds work well. They add a luxurious feel and help the mixture stay smooth, preventing it from becoming icy.
| Thickening Agent | Benefits | Quantity to Use |
|---|---|---|
| Cashews | Creamy texture, natural sweetness | 1/2 – 1 cup soaked and blended |
| Avocado | Smooth, velvety consistency | 1/2 – 1 ripe avocado |
| Chia seeds | Gel-like consistency, nutrient-dense | 2-3 tablespoons whole or ground |
With a bit of trial and error, and the right ingredients, you can make amazing dairy-free kitchenaid ice cream recipes. They’re just as tasty as the traditional kind.
Seasonal Ice Cream Flavors to Try
Make your KitchenAid ice cream recipe even better by trying seasonal flavors. Enjoy refreshing summer sorbets or cozy winter treats. Your stand mixer can turn simple ingredients into tasty frozen delights.
Spring Fling
Spring brings blooming flowers and mild air. Try lavender and honey ice cream or rhubarb and strawberry sorbet. These flavors match the season’s fresh foods perfectly.
Summer Sensations
Stay cool with peach and basil or watermelon lime sorbets. For a summer taste, make fresh berry ice cream. Your KitchenAid’s features make it easy.
Autumn Allure
Enjoy the harvest with pumpkin spice or apple pie ice cream. These seasonal ice cream recipes bring fall’s cozy flavors to life.
Wintery Wonders
Winter calls for rich tastes like gingerbread or peppermint mocha KitchenAid ice cream flavors. Add crushed candy canes or fudge swirls for a festive touch.
With your KitchenAid stand mixer, you can make endless seasonal ice cream recipes. Use fresh ingredients to create the perfect treat for any season.
Conclusion
Your KitchenAid stand mixer is perfect for making homemade ice cream. It uses the Ice Cream Maker Attachment to create treats better than store-bought ones. You’ve learned to make frozen delights that match your taste.
Keep trying new recipes and mix-ins. Explore flavors that change with the seasons. With your KitchenAid mixer, you’re ready for homemade ice cream success. Enjoy making the perfect KitchenAid ice cream recipe for your loved ones.
The best part of making homemade ice cream is the journey, not just the end result. Enjoy the hands-on process and your creativity. Every bite is a delight. Congratulations on starting your KitchenAid ice cream adventure!
For more Lovey Recipes: loveyrecipes.com/category/lunch
FAQ
What makes the KitchenAid stand mixer perfect for making homemade ice cream?
The KitchenAid stand mixer is great for ice cream because of its strong motor and design. It can mix the ingredients well, adding air for a smooth texture.
What equipment and attachments do I need to make ice cream with my KitchenAid?
You’ll need the KitchenAid ice cream maker attachment, which has a frozen bowl and paddle. Also, get a spatula, mixing bowls, and a container for the ice cream.
How do I make the perfect vanilla bean ice cream with my KitchenAid?
Start by making a custard base with eggs, cream, milk, sugar, and vanilla beans. Then, churn the mixture in your KitchenAid until it’s just right.
What factors are important to consider when making homemade ice cream with a KitchenAid?
Focus on the right fat content, sugar balance, and air incorporation. These steps will give your ice cream a smooth, creamy texture.
Can I make dairy-free or vegan ice cream with my KitchenAid stand mixer?
Yes, you can! Use plant-based milks and natural thickeners for dairy-free or vegan ice cream. The KitchenAid mixer works well with these ingredients.
What are some unique ice cream flavors I can make with my KitchenAid?
You can try many flavors! From classic to chocolate, fruit, and seasonal, the KitchenAid makes it easy to experiment and find your favorite.

