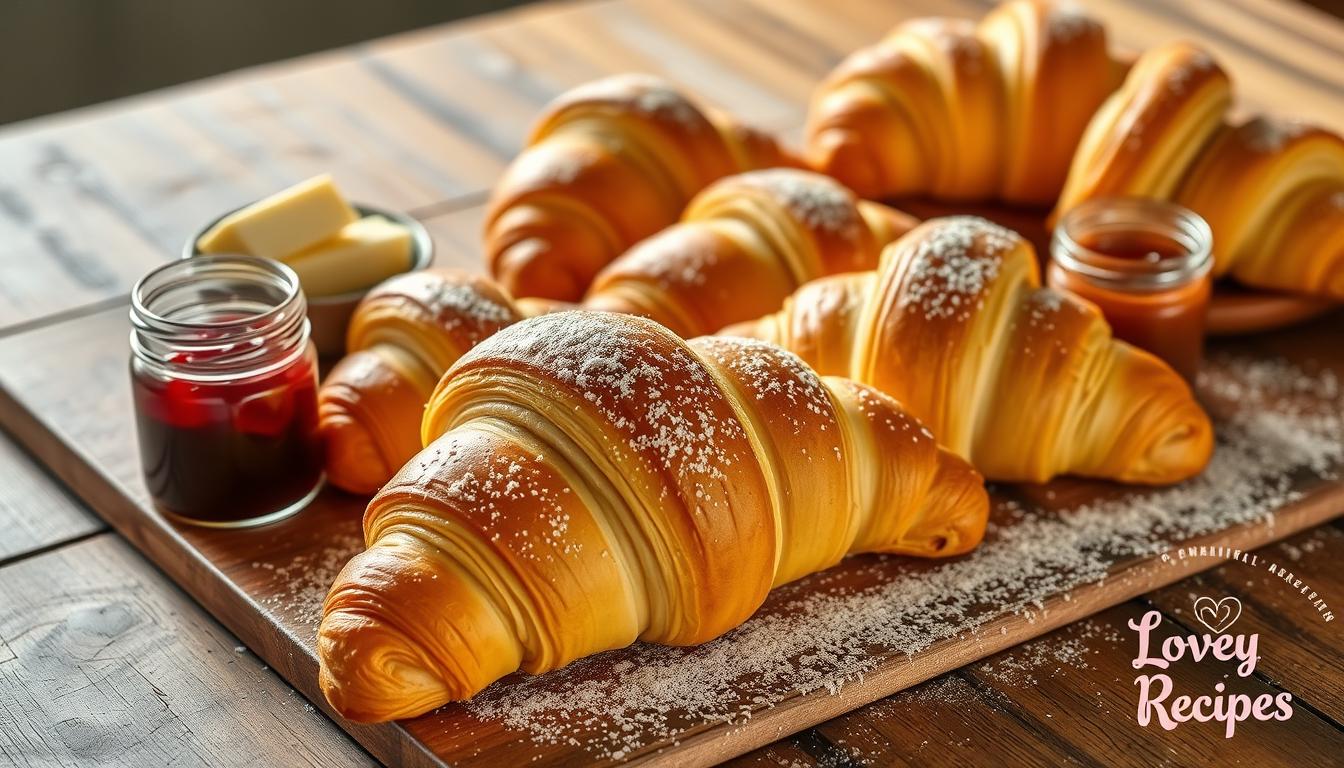
Get ready for a tasty journey with the gipfeli, a Swiss pastry like the French croissant. These flaky, buttery treats have won hearts around the world. Now, you can make them in your kitchen. Enjoy the rich flavors and the happiness of biting into a warm gipfeli.
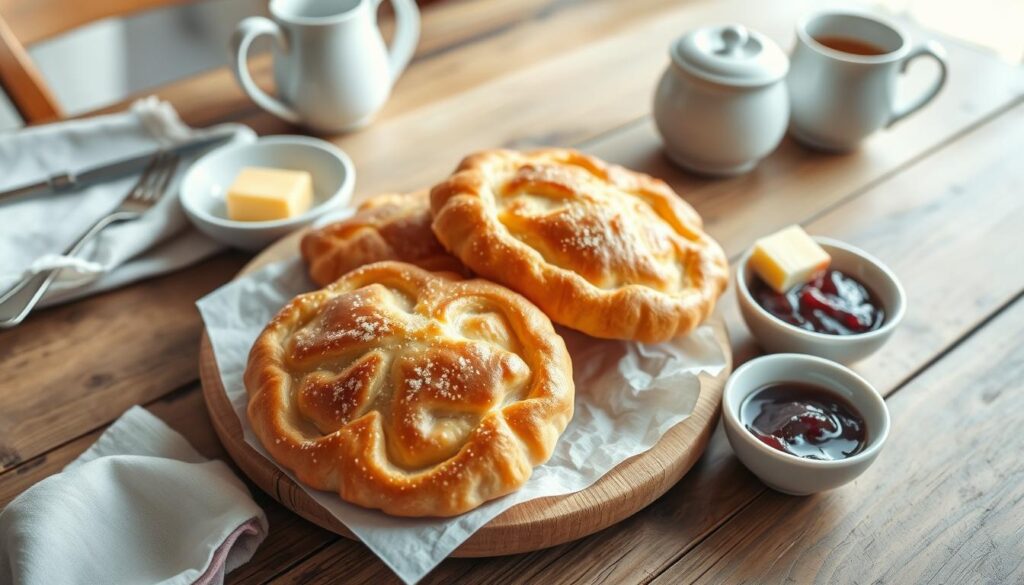
Key Takeaways
- Discover the unique characteristics of Swiss gipfeli and how they differ from French croissants
- Learn the essential ingredients and kitchen tools required to make perfect gipfeli at home
- Understand the art of dough preparation, lamination, and shaping techniques for flaky, light, and airy gipfeli
- Explore proofing tips and baking guidelines to achieve the perfect golden-brown color and texture
- Troubleshoot common gipfeli baking challenges and learn expert tips for professional-looking results
Understanding Swiss Gipfeli: A Beloved Breakfast Pastry
The Swiss breakfast pastry known as gipfeli is loved by many in Switzerland. It has a long history, dating back centuries. Today, it remains a favorite in Swiss cuisine.
The History of Gipfeli in Swiss Cuisine
Gipfeli, similar to French croissants, have been a Swiss breakfast favorite for ages. They originated in the 18th century. Swiss bakers worked hard to make the dough flaky, creating a unique pastry.
How Gipfeli Differs from French Croissants
- Gipfeli have a more curved shape than French croissants.
- They use more butter, making them richer and more indulgent.
- Gipfeli are smaller, making them easy to eat on the go.
Cultural Significance in Switzerland
In Switzerland, gipfeli is more than a pastry. It’s a symbol of Swiss pride. People enjoy them with coffee or hot chocolate. Gipfeli are a big part of Swiss culture, loved by all.
Essential Ingredients for Perfect Gipfeli Recipe
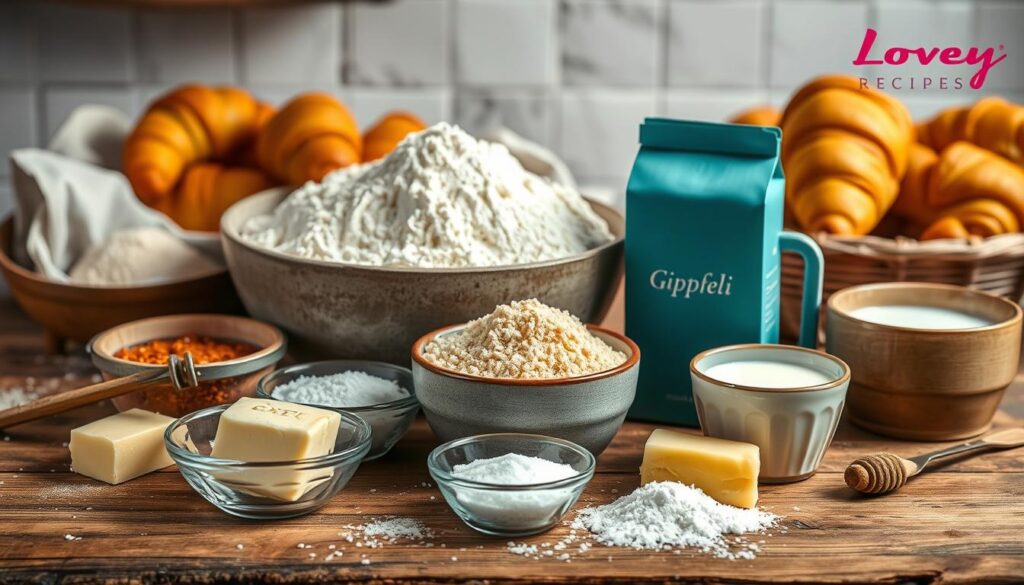
Making delicious gipfeli, a Swiss breakfast pastry, starts with the right ingredients. High-quality butter is key. It gives gipfeli its flaky texture and rich taste, unlike the French croissant.
To make the perfect gipfeli, you need a few key ingredients:
- High-quality butter – Choose a premium, European-style butter with high fat content. This makes the crust tender and flaky, and the taste rich.
- All-purpose flour – Pick a high-quality, unbleached all-purpose flour. It gives the dough the right balance of structure and lightness.
- Granulated sugar – A bit of sugar adds sweetness to the gipfeli. It also helps with browning when baked.
- Eggs – Eggs make the dough richer and help it stick together. This results in a delicate crumb.
- Salt – A little salt brings out the other flavors and balances the sweetness.
- Milk or water – Use milk or water to hydrate the dough. Milk adds extra flavor and tenderness.
By picking and mixing these essential ingredients, you’re on your way to making the delicious gipfeli recipe you’ve always wanted. It will have the flaky layers and buttery taste that make gipfeli so special.
Kitchen Tools and Equipment You’ll Need
Baking delicious gipfeli, a Swiss breakfast favorite, needs the right tools. We’ll cover the essentials and some helpful gadgets. This guide will help you make perfect gipfeli.
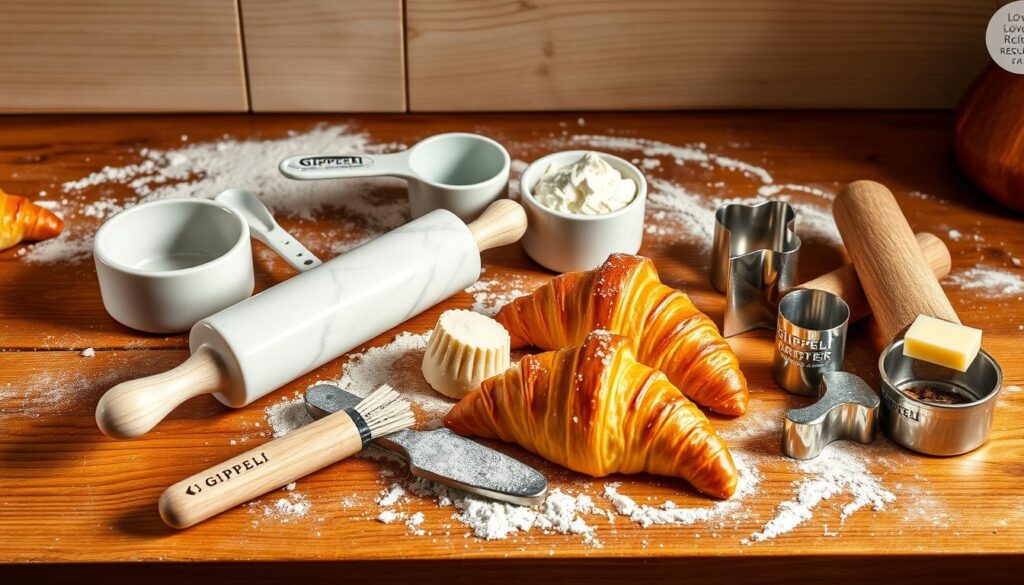
Must-Have Baking Tools
- A rolling pin for easy dough rolling
- A pastry brush for even egg wash or butter
- A sharp chef’s knife or pastry cutter for clean cuts
- A baking sheet or baking tray for your gipfeli
- A cooling rack for cooling your gipfeli
Optional but Helpful Equipment
While the basic tools are key, some extra pastry equipment can enhance your baking:
- A stand mixer with a dough hook for easy kneading
- A food processor for quick butter mixing
- A kitchen scale for accurate measurements
- A pastry mat or silicone baking mat to prevent sticking
Temperature Control Essentials
Getting the right gipfeli temperature is crucial. Make sure you have these baking thermometer tools:
- A digital instant-read thermometer for dough temperature
- An oven thermometer for accurate oven heat
- A dough thermometer for proofing dough temperature
Mastering the Gipfeli Dough Preparation
Creating the perfect easy gipfeli recipe begins with mastering the dough. The gipfeli dough technique includes key steps like yeast activation and the first rest. Let’s explore these steps to make your homemade gipfeli light, flaky, and delicious.
Activating the Yeast
Start by testing the yeast. Mix warm water, yeast, and a bit of sugar in a bowl. Stir softly and wait for 10 minutes for it to froth and bubble. This step is vital for your gipfeli dough to rise well.
Mixing the Dough
In a big bowl, mix flour, salt, and the yeast mixture. Use a spoon or your hands to mix until it’s a shaggy dough. Then, knead the dough on a floured surface for 10 minutes. It should become smooth and elastic.
Resting the Dough
Put the dough in a greased bowl, cover it, and chill for at least 2 hours, or up to 24 hours. This rest helps the gluten relax, making the dough easier to work with later.
By following these steps, you’ll lay a solid base for your easy gipfeli recipe. The gipfeli dough technique and proper yeast activation are key to getting that light, flaky texture that Swiss pastries are famous for.
The Art of Laminating Your Gipfeli Dough
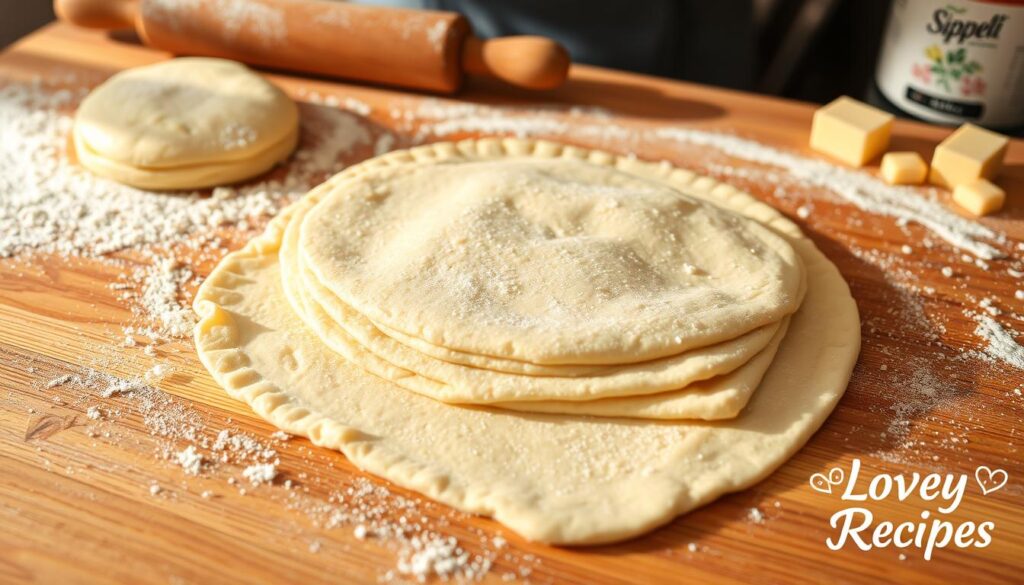
Mastering lamination is key to gipfeli’s flaky texture. This process involves folding and layering dough with butter. It’s what makes gipfeli different from French croissants. Let’s dive into the details of creating those perfect butter layers and the folding techniques that make the pastry melt in your mouth.
Creating Perfect Butter Layers
The base of a great gipfeli is even butter distribution. This is done through gipfeli lamination. The dough is folded with chilled butter, creating delicate, buttery layers. This dance of dough and butter is what makes gipfeli flaky.
Folding Techniques for Flaky Results
After butter is evenly spread, it’s time for folding techniques. The classic flaky pastry technique involves folding to create dough and butter layers. By carefully folding the dough, you get the characteristic butter layering of gipfeli.
- Start with chilled dough and pliable butter.
- Roll the dough into a rectangle and place butter slices on it.
- Fold the dough in thirds, like a letter, to encase the butter.
- Rotate the dough 90 degrees and repeat the rolling and folding.
- Keep folding and chilling until you get the right number of butter layers.
With each fold, you create flaky layers that puff up in baking. The effort you put into gipfeli lamination will be worth it. You’ll get a pastry that’s truly a masterpiece.
Shaping and Rolling Techniques
Learning to shape and roll your gipfeli recipe dough is crucial for the perfect crescent roll. It doesn’t matter if you’re new to baking or have years of experience. These steps will help you get it right.
First, divide your chilled dough into equal parts. This makes sure each gipfeli is shaped evenly. Dust your work area with flour and roll each piece into a thin rectangle. Make sure it’s even all over.
- Start rolling the dough from the long side into a tight cylinder. Stretch and shape it as you roll.
- After rolling, cut the cylinder into pieces, about 1-2 inches wide.
- Place each piece on a parchment-lined baking sheet, with the seam down.
- Shape each piece into a crescent, pulling and stretching the dough gently.
The secret to great gipfeli recipe shaping is in the rolling. Rolling tightly and evenly gives you the layered texture of Swiss gipfeli. With practice, you’ll get the hang of the crescent roll technique. Soon, you’ll make perfect gipfeli recipe every time.
Proofing Tips for Light and Airy Texture
Getting the right texture in your homemade gipfeli recipe starts with proofing. Proofing is key for the dough to rise and get flaky. Knowing the best proofing temperature and timing helps your gipfeli turn out perfectly.
Temperature and Timing Guidelines
The best proofing temperature for gipfeli recipe is 75°F to 85°F (24°C to 29°C). This temperature is ideal for yeast to work and dough to rise right. Proof your gipfeli for 45 minutes to 1 hour. Watch them closely and adjust time based on how they look.
Visual Cues for Perfect Proofing
- The dough should double in size and feel soft and pillowy.
- Gently poking the dough should make it spring back slowly, showing it’s ready.
- The edges should look slightly domed, and the gipfeli should be bigger.
Follow these gipfeli proofing tips and watch for these signs. You’ll get the light, airy texture that makes Swiss gipfeli so loved.
Baking Temperature and Timing Guide
Getting the perfect golden-brown crust on homemade gipfeli recipe is key. To get your pastries just right, follow these baking temperature and timing tips.
The best oven temperature for gipfeli recipe is between 375°F (190°C) and 400°F (205°C). This range helps the outside get a golden brown crust and the inside stay flaky and tender.
- Preheat your oven to 375°F (190°C).
- Place the shaped and proofed gipfeli on a baking sheet lined with parchment paper.
- Bake for 18-22 minutes, or until the gipfeli baking temperature reaches the desired golden brown crust.
- For a deeper, richer color, brush the pastries with an egg wash before baking.
Watch the pastry baking time closely to avoid over-browning or under-baking. The gipfeli recipe should be a beautiful golden hue when done. They should have a crisp, flaky exterior and a soft, pillowy interior.
| Baking Temperature | Baking Time | Result |
|---|---|---|
| 375°F (190°C) | 18-22 minutes | Golden brown crust, flaky and tender interior |
| 400°F (205°C) | 15-18 minutes | Deeper golden color, crisper exterior |
Remember, oven temperatures and baking times can vary. So, keep a close eye on your gipfeli. Adjust the baking time as needed to get the perfect golden brown crust.
Troubleshooting Common Gipfeli Problems
Making the perfect gipfeli recipe, Switzerland’s favorite breakfast pastry, can be tricky. But, with the right tips, you can fix common dough and baking problems. This way, you’ll get flaky, golden-brown pastries every time. Let’s look at some solutions for common gipfeli issues.
Fixing Dough Issues
Gipfeli recipe dough can be a bit finicky. But, we’ve got some fixes for you. If it’s too sticky, add a bit more flour and knead it in gently. If it’s too dry, a few drops of water or milk can help.
Having trouble with uneven layers or a hard dough to roll out? Make sure your butter is at the right temperature. Not too soft, not too hard. Also, take your time laminating the dough for those flaky layers.
Addressing Baking Challenges
- Uneven baking: Rotate your baking tray halfway through to ensure even heat.
- Gipfeli that won’t rise: Check your yeast is fresh and active, and the proofing temperature is right.
- Overly browned or burnt bottoms: Lower the oven temperature and watch your pastries closely.
With patience and attention to detail, you can solve even the toughest gipfeli problems. Mastering dough preparation and baking will help you make amazing gipfeli at home.
Storage and Reheating Methods
Keeping your homemade gipfeli recipe fresh is key. To keep them tasty and flaky, follow these tips:
Proper Gipfeli Storage
After they cool, put your gipfeli recipe in an airtight container at room temperature. This keeps them fresh and prevents drying. Don’t refrigerate them, as cold can make them stale and lose their tender crumb.
Reviving Stale Gipfeli
Stale gipfeli can be revived! To reheat pastries and bring back their freshness, preheat your oven to 350°F (175°C). Place the gipfeli on the oven rack for 5-7 minutes. This will restore their flaky texture and buttery taste.
For a special touch, brush them with melted butter or sprinkle with powdered sugar before serving.
By using these simple storage and reheating methods, you can preserve the freshness of your homemade gipfeli. Enjoy their delicious flavors for days.
Flavor Variations and Modern Twists
The classic gipfeli recipe, or Swiss croissant, is a beloved breakfast pastry. But why limit yourself to the traditional buttery delight? Explore a world of flavors by trying new gipfeli recipes and pastries.
Step outside the traditional boundaries and indulge in a spectrum of flavors. From savory to sweet, the possibilities are endless. Imagine a gipfeli infused with fragrant herbs, or one that tantalizes your taste buds with a touch of spice. Venture into the realm of sweet delights, where gipfeli can be studded with chocolate chips, filled with creamy custard, or even layered with seasonal fruits.
If you’re feeling adventurous, try your hand at crafting gipfeli variations that showcase your culinary creativity. Substituting the traditional butter with flavorful oils, such as olive or hazelnut, can lend a unique twist to your pastries. Or, why not incorporate aromatic spices like cinnamon, cardamom, or even za’atar for a Middle Eastern-inspired gipfeli experience?
Embrace the art of gipfeli-making and let your imagination soar. Experiment with savory fillings like roasted vegetables, tangy cheeses, or even smoky meats. The possibilities are truly limitless when it comes to reinventing this Swiss classic. So, preheat your oven, roll up your sleeves, and get ready to dive into the world of gipfeli variations, flavored pastries, and innovative gipfeli recipes.
Sweet and Savory Gipfeli Creations
- Chocolate-filled gipfeli
- Lemon-poppy seed gipfeli
- Parmesan and herb gipfeli
- Spiced pumpkin gipfeli
- Caramelized onion and feta gipfeli
Unconventional Gipfeli Twists
- Gipfeli with matcha tea glaze
- Gipfeli infused with Earl Grey tea
- Gipfeli made with whole wheat flour
- Gipfeli topped with crumbled bacon
- Gipfeli filled with roasted red pepper and goat cheese
Expert Tips for Professional-Looking Results
Making bakery-quality gipfeli recipe at home needs focus and some special techniques. Learning to get the perfect golden color and even layers makes your gipfeli look amazing. This will impress your guests and show off your baking skills.
Achieving the Perfect Golden Color
The secret to a beautiful golden crust is the right baking temperature and time. Make sure your oven is hot enough, and use an oven thermometer to check. Watch the pastries closely while they bake, turning the sheet to get even color.
For a richer color, brush the gipfeli with egg wash or milk before baking. This adds a nice sheen and color.
Creating Even Layers
Even layers are key for a pro-looking gipfeli. The trick is in lamination, folding and rolling the dough carefully. This creates those flaky, delicate layers everyone loves.
- Take your time folding the dough, making sure it’s even.
- Roll it out with even pressure to avoid unevenness.
- Keep your work surface and dough at the right temperature for best layering.
By using these gipfeli tips, you’ll make bakery-quality gipfeli that will wow your loved ones. Enjoy the journey and the tasty outcome of your efforts!
Conclusion
As you’ve explored the art of homemade gipfeli success, you’ve learned the secrets of this Swiss pastry. You’ve discovered its rich history and cultural importance. You’ve also mastered the techniques of dough preparation and baking.
This journey has been more than just making delicious pastries. It’s been a Swiss pastry mastery adventure with many rewards. Whether you’re an experienced baker or new to gipfeli baking journey, you’ve gained valuable skills.
Now, you can take pride in making these flaky, buttery treats from scratch. Feel free to try new flavors. Sharing these homemade gipfeli with loved ones is truly special.
Keep improving your gipfeli-making skills. Remember, the joy of making them is just as important as the end result. The journey of homemade gipfeli success is filled with learning and enjoyment. Continue to explore the world of Swiss pastry mastery and gipfeli baking journey.
For more Lovey Recipes: loveyrecipes.com/category/breakfast
FAQ
What is a gipfeli recipe and how does it differ from a French croissant?
A gipfeli recipe is a Swiss pastry similar to a French croissant. But, it’s more buttery and flaky. It has a delicate texture that’s unique.
What are the essential ingredients for making the perfect gipfeli recipe?
To make great gipfeli, you need high-quality butter, flour, yeast, eggs, and salt. How you mix these ingredients is key. It helps create the flaky, buttery layers.
What kitchen tools and equipment are needed to make gipfeli recipe at home?
You’ll need a rolling pin, pastry board, sharp knife, and baking sheet for gipfeli. A food processor, stand mixer, and pastry brush are helpful. Also, a baking thermometer is crucial for temperature control.
How do I prepare the gipfeli recipe dough for the best results?
Start by activating the yeast and mixing the dough. Let it rest. Kneading and controlling the temperature are important. They help get the right texture and flavor.
What is the lamination process for gipfeli recipe, and why is it important?
Lamination creates thin layers of dough and butter. It’s key for the flaky, buttery texture of gipfeli. Folding and rolling the dough correctly ensures even butter layers.
How do I shape and roll the gipfeli recipe dough to get the perfect crescent shape?
Roll out the dough and cut it into triangles. Roll each triangle into a crescent shape. This gives gipfeli their signature look.
How do I ensure the gipfeli recipe have a light and airy texture during the proofing process?
Proof the gipfeli at the right temperature and time. Watch for increased volume and a soft texture. This ensures they’re light and airy.
What’s the best oven temperature and baking time for perfect gipfeli recipe?
Bake gipfeli at 400°F (200°C) for 15-20 minutes. This creates a golden crust and a tender interior.
How can I troubleshoot common issues that may arise when making gipfeli recipe?
Common problems include sticky or dry dough, and uneven browning. Use the right techniques to solve these issues. This ensures your gipfeli turn out well.
How should I store and reheat gipfeli to maintain their freshness and flakiness?
Store gipfeli in an airtight container at room temperature for 2 days. Reheat them in a preheated oven for a few minutes. This restores their crisp texture.

